In this step-by-step tutorial I’m going to show you how to do some basic polka dot nails – super on trend and perfect for spring in these great new shades from Orly. These are really simple to do, and look awesome!
 Start out by applying a base coat. This step is so important that I dedicated a whole blog post to it! I recommend Lumos by Famous Names because it reduces the drying time – bonus!
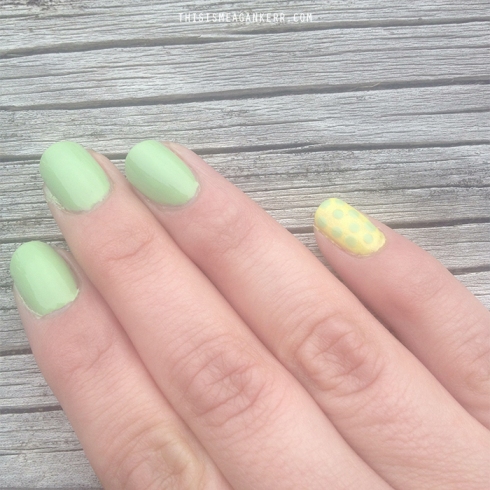 1. Apply your base coat and two thin layers of polish. I’ve used a contrasting colour for my pinky to change things up a bit (and have done the opposite on the other hand). Need some tips on how to paint your nails like a professional? I’ve got you covered!
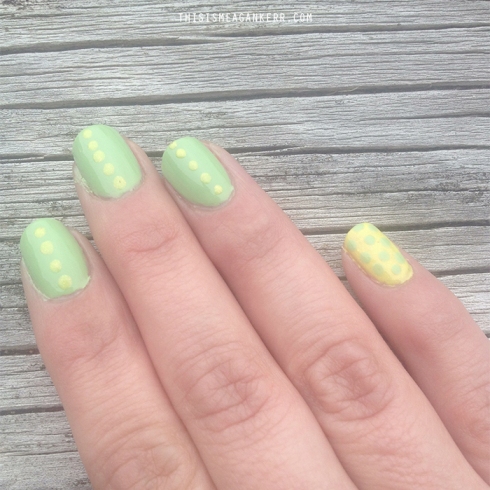 2. Start by doing a line of dots up the centre of your nail. This provides a good foundation to build from and ensures that your dots won’t just be random and messy.
PRO TIP: If you don’t have a dotting tool, just use the blunt end of a brush!
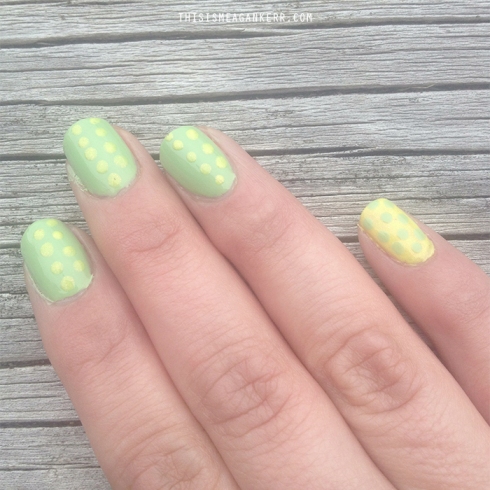 3. Do another line of dots to the side, in the spaces between the first set.
PRO TIP: If you get to the end of the nail and there is no room for a full dot, but there should be one, do a half dot. This gives the impression that the design continues on.
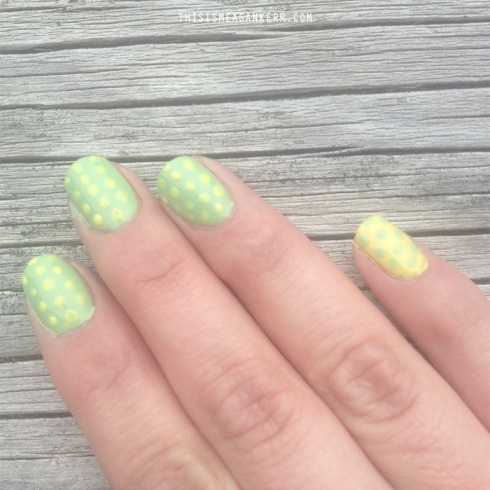 4. Repeat on the other side, and again where needed until your full nail is covered.
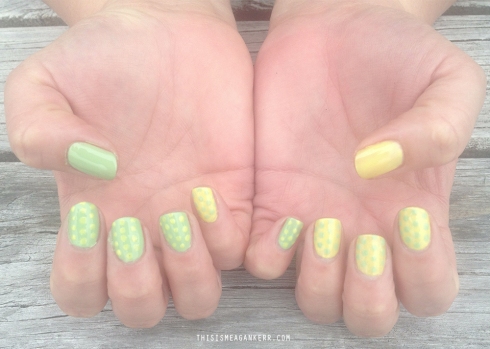 5. Repeat the process on your other hand. I’ve used opposite colours for a bit of fun.
Finish off with a top coat to seal and protect your nails. If you’ve used Lumos base and top coats, your nails should be fully dry in 15-30 minutes. If you’re using any other kind of top and base coat, then I recommend waiting at least an hour to ensure your manicure is fully dry.
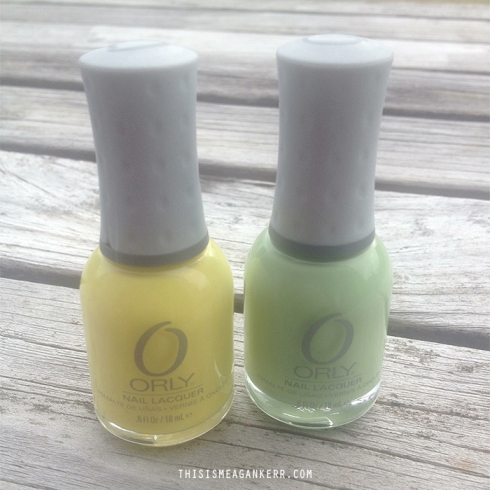 To create this look, I used Melodious Utopia and Coachella Dweller from Orly‘s new Hope and Freedom Fest Collection, which I mentioned in my Favourite Things last week. The collection is in stores this month.
So, how are your nails looking? I hope you found this tutorial helpful!
x Meagan
© Meagan Kerr 2013
