A few weeks ago, I got together with my friends Rachael (from Made From Scratch) and Penny (from Monaco Nails & Beauty) and photographed a few awesome nail tutorials to share with you.
The first step-by-step tutorial I’m going to share with you is how to paint your nails like a professional. Once you get the basics right, it makes everything so much easier!
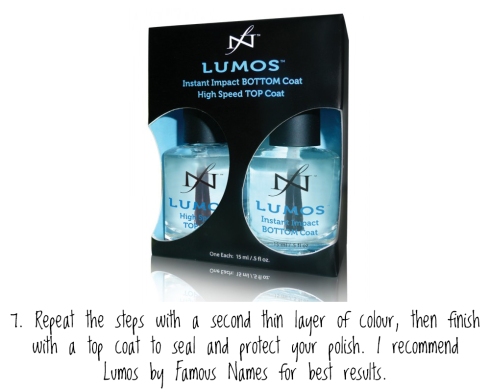
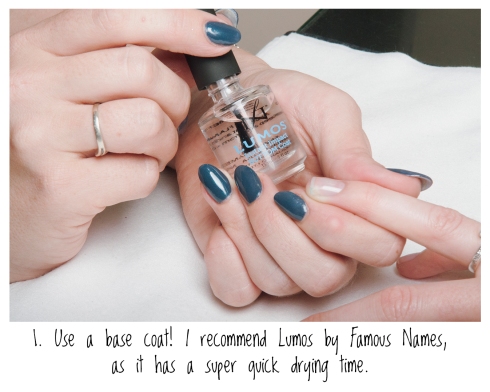 A base coat is so important that I dedicated a whole blog post to it! I recommend Lumos by Famous Names because it reduces the drying time – bonus!
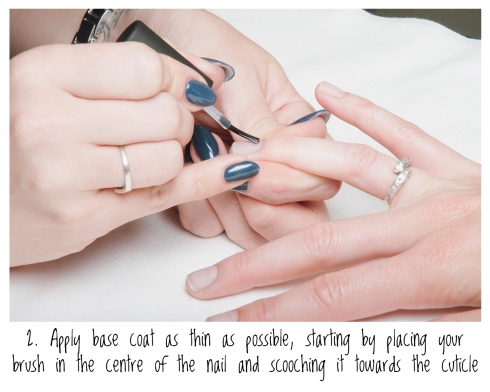 SCOOCHING: Place your brush in the centre of the nail, and wiggle it back and forth until the bristles spread out to the shape of the cuticle – this is how you achieve a perfect line around the base of your nail.
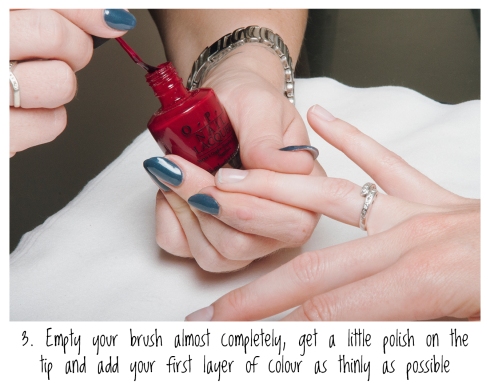
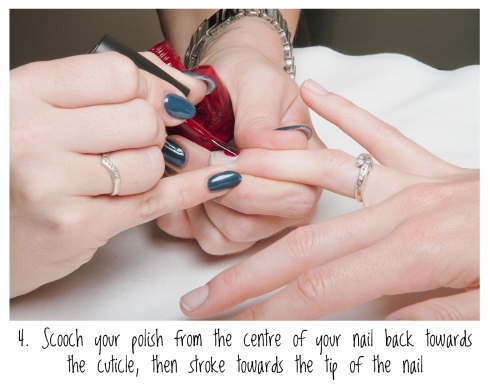
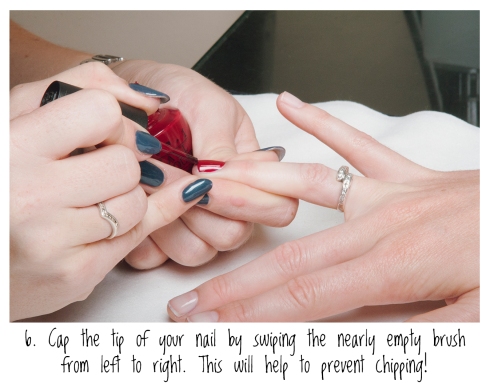
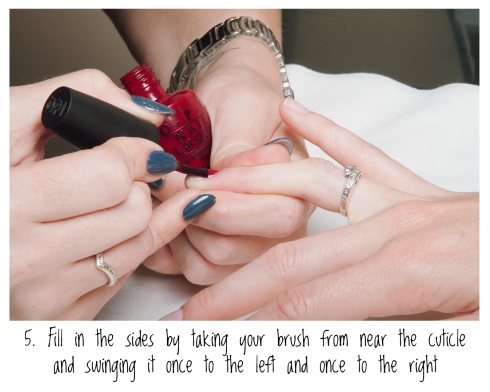 PRO TIP: Always make sure that you leave a slight gap around the edges so that the polish doesn’t touch your skin.
If you’ve used Lumos base and top coats, your nails should be fully dry in 15-30 minutes. If you’re using any other kind of top and base coat, then I recommend waiting at least an hour to ensure your manicure is fully dry.
While you’re waiting for your manicure to dry, I recommend you go and visit Rachael over at Made From Scratch and Penny at Monaco Nails & Beauty, and show them some love!
So, how are your nails looking? I hope you found this tutorial helpful!

Products used:
OPI Malaga Wine
Lumos Base Coat
Lumos Top Coat

Thanks for the tips! I absolutely love that OPI colour, such a great colour for autumn!
http://lillymint.wordpress.com/
You’re more than welcome! I agree, that colour is fab.
xM
Great tips! May I ask what the teal polish your manicurist is wearing?? I need it in my life…..
Thanks! I’m not sure what colour Penny is wearing, but I will find out for you.
xM
Hey J, it’s “Defiant” Colour Gloss from Artistic Nail Designs
xM
Awesome – thanks!!