Brought to you by Monaco Nails & Beauty
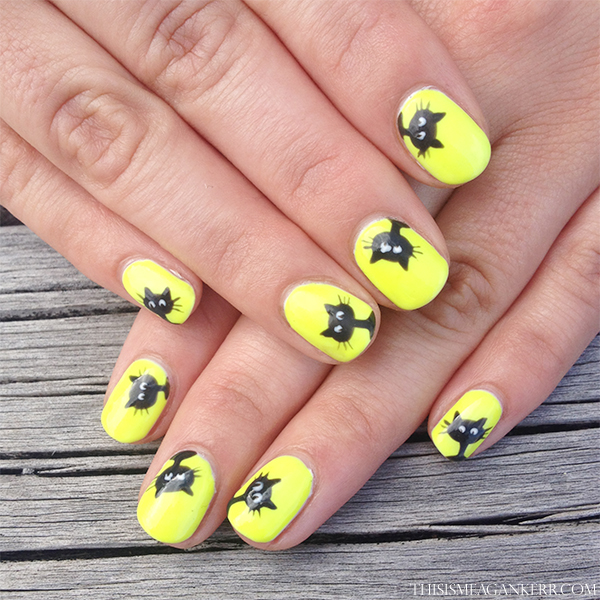
All Hallow’s Eve is fast approaching and so I wanted to share a fun Halloween nail art tutorial to get you in the mood. I was having a hunt through Pinterest (are you following me?) for some ideas, and I came across this cute black cat design by Simply Rins and wanted to replicate it (and teach you how to as well)…
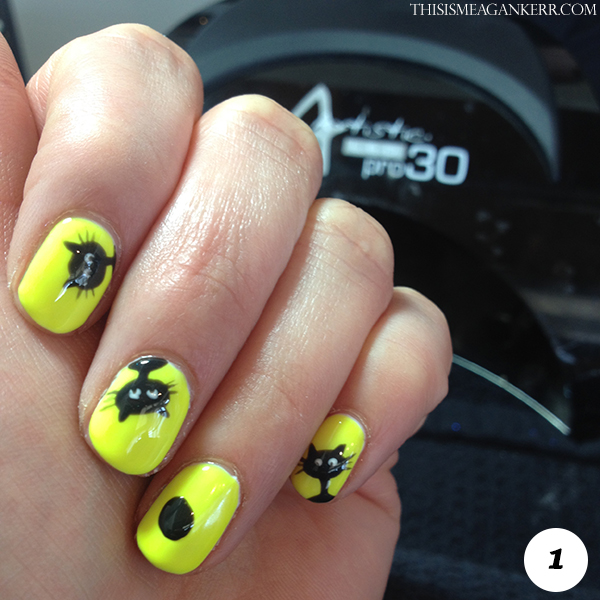
Before you begin the nail art, apply your base coat and two coats of your base polish – I chose a neon yellow for something bright and fun, and Penny put white underneath to make the colour really pop. Make sure your polish is completely dry before you begin adding nail art!
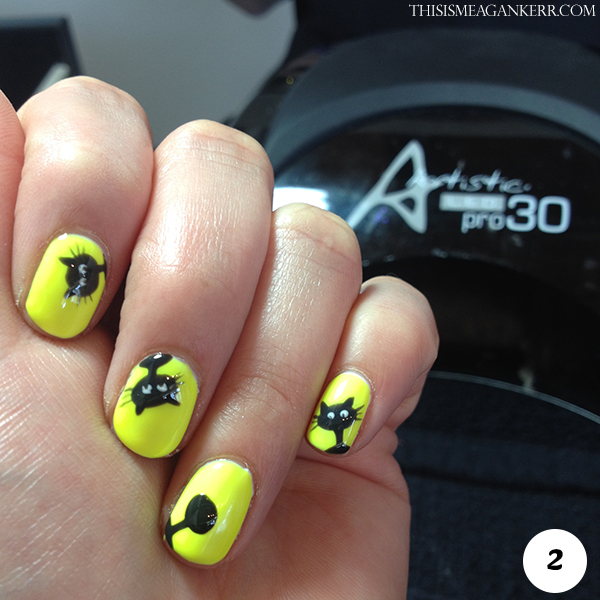
STEP ONE: Using a dotting tool (or the blunt end of a brush, or even the ball tip of a bobby pin – I’ve tried both and they work just as well!), create an oval for your cat’s head.
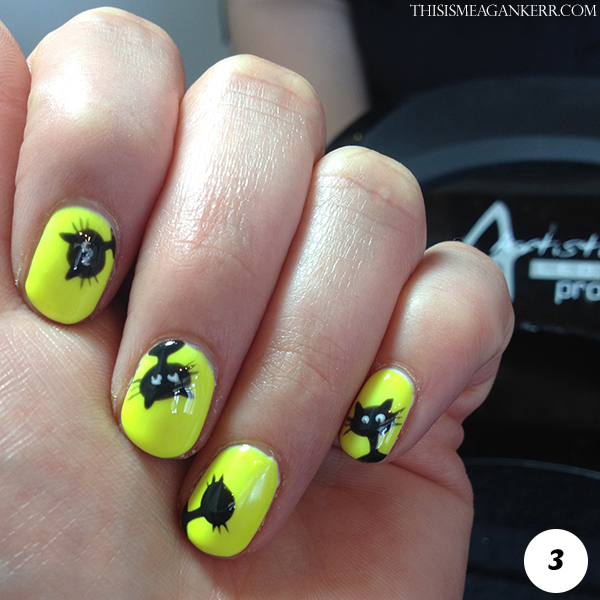
STEP TWO: Using a thin brush, draw the cat’s neck and shoulders in a T shape. You can adjust the shape of his shoulders to fit the shape of your nail.
STEP THREE: Using the tip of a fine brush, draw on the cat’s whiskers. Make sure you keep them as thin as possible – if you don’t have a fine brush you could try using the sharp end of a pin or needle instead, just make sure that you don’t apply too much pressure when using it to do the lines.
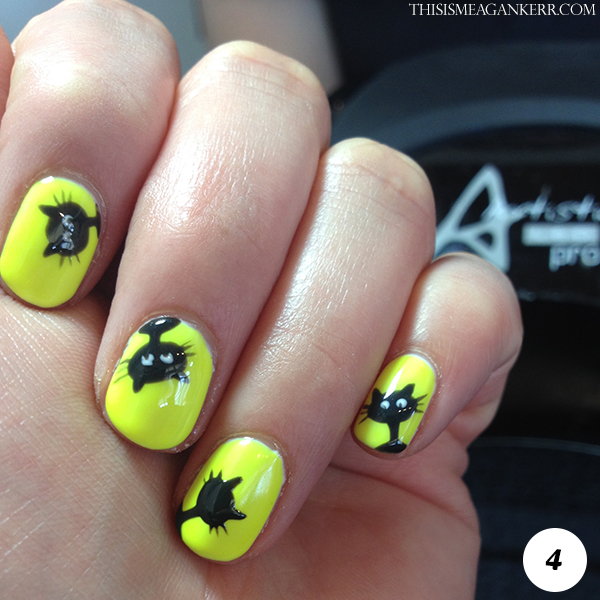
STEP FOUR: Give your cat some ears. Keep them small and triangular shaped, on the outer aspects of the top of his head. Let your nails dry to the touch before moving on to the next step.
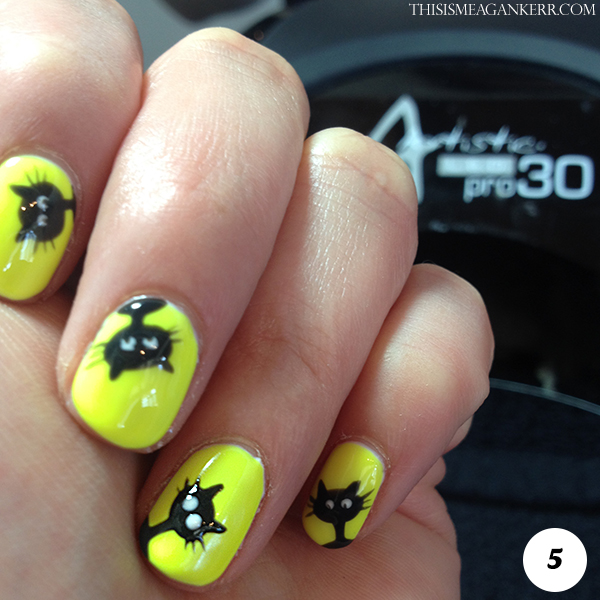
STEP FIVE: Using your dotting tool (or brush end or bobby pin), add two white dots for the cat’s eyes. Make sure you keep them small (unless you want a wide eyed Felix the Cat look!). Let these dry to the touch.
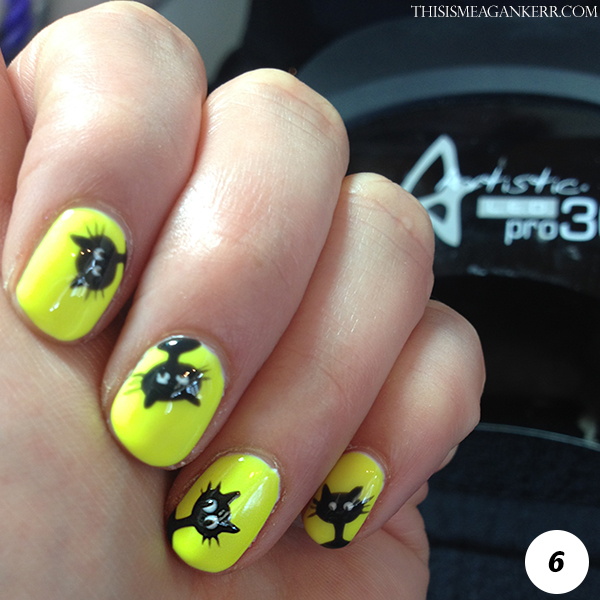
STEP SIX: Add in the cat’s pupils. You can either do a black dot or a thin black stripe, depending on the look you’re going for. Let your nails dry to the touch before adding your top coat, otherwise the details in your design could bleed – not what you want after you’ve gone to all that hard work!
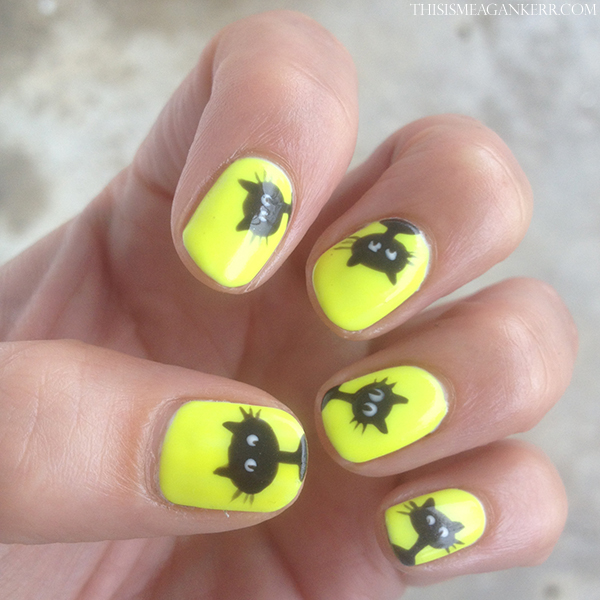
By changing little details (head size, eye size and direction, and whisker size), Penny has given each of my cats it’s own personality. That’s one of the things I love about hand painted nail art – it’s so individual!
Want to get your nails done by the talented girls at Monaco Nail Academy? You can book a colour gloss appointment with one of their talented graduates from $65 – they have three late nights available (Wednesday – Friday) and are open on Saturdays. Mention that you found them through This is Meagan Kerr and, for a limited time only, you can book a express gel manicure with Catherine or Moana for just $39!
Will you give these cute cats a try? Let me know if you do – share your pictures on my Facebook page or tag me in on Instagram!
xo Meagan
Nails by Penny from Monaco Nails and Beauty
Meagan wears: Artistic Colour Gloss in Purity, Vivid and Empowered

This is so cute!! love it…. I have the teeny tiny nail in this whole world…dunno if I can do this….But I would love to try it… 🙂
Just make the cats smaller!
Beautiful design! Thanks for sharing!
I think you will enjoy reading my Ultimate Guide: Halloween Nails where I provide the list of 50 popular costumes and 50 matching DIY nail tutorials: http://stylesprinter.com/ultimate-halloween-nails-guide/
So so cute! and delicate. I’m tempted to give it a shot but I’m sure its a lot harder than it may seem. hehe
Give it a try and let me know how you find it!